Card of the week 543
12th Dec 2024
20 mins
Easy
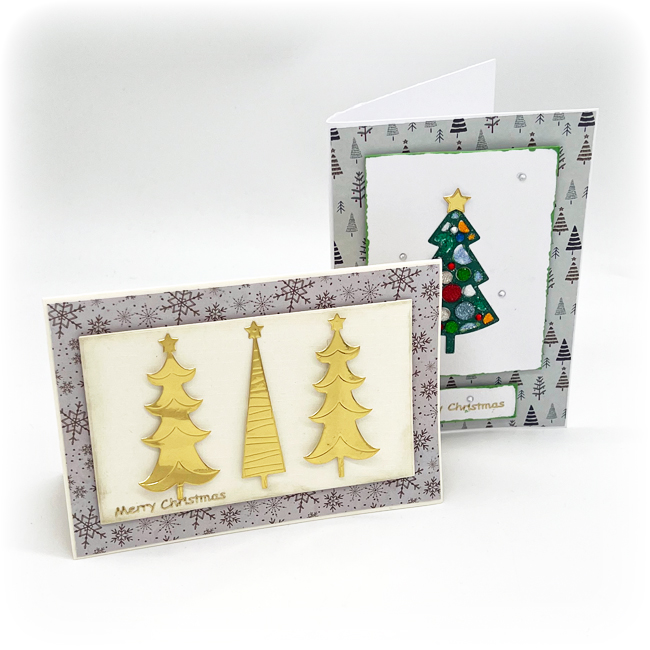
Last-minute magic! Create stunning cards in no time with the PCD128 Presscut Tree Set—quick, easy, and perfect for those last-minute crafting sessions!

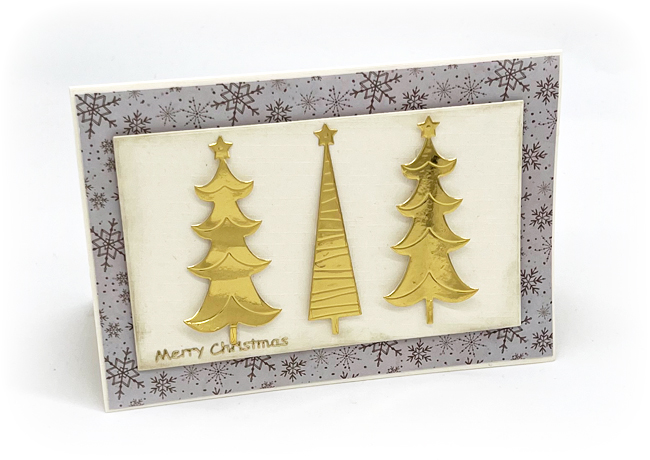
First we have the gold mirror card tree design

Choose and Prepare the Base:
- Select a decorative paper design for the front of your card.
- Cover the front of a C6 card blank with the paper, leaving a small border around the edges for a neat finish. (We used a cream card blank for an elegant touch.)
Create the Central Panel:
- Cut a rectangle from cream cardstock to serve as the centrepiece of your card.
- Lightly ink the edges of the cream rectangle using gold ink for added sophistication.
Add the Trees:
- Using the PCD128 Presscut Tree Set, cut out three tree shapes from gold mirror card.
- Arrange the trees on the cream rectangle and attach them with foam pads to give a dimensional effect.
Add the Final Touch:
- Complete your design by adding a peel-off greeting of your choice for a polished and festive finish.
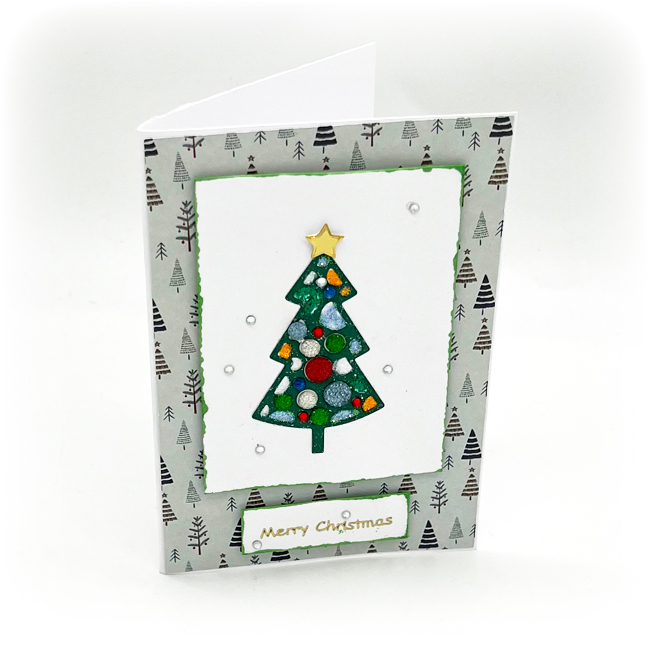
Second we have gems, sequins and stickles card tree design

Create the Focal Point:
- Cut the dotty tree design from green cardstock.
- Attach the tree to a white cardstock rectangle (75mm x 100mm).
- Ink the edges of the rectangle with green ink for a coordinated look.
Assemble the Card:
- Using foam pads, adhere the tree panel towards the top of your C6 card blank, creating a raised effect.
Add a Greeting:
- Cut a small rectangle (55mm x 7mm) from white cardstock.
- Add a peel-off greeting to the rectangle, then adhere it to the bottom of the card using foam pads.
Decorate the Tree:
- Embellish the tree with gems, sequins, Stickles, or other decorative items to add sparkle and texture.
Add Finishing Touches:
- Dot a few clear gems around the card for extra sparkle.
- Place a gold star at the top of the tree to complete the festive design.
Your cards are now ready to shine!
