
Card of the week 552
20th Feb 2025
45 mins
Medium
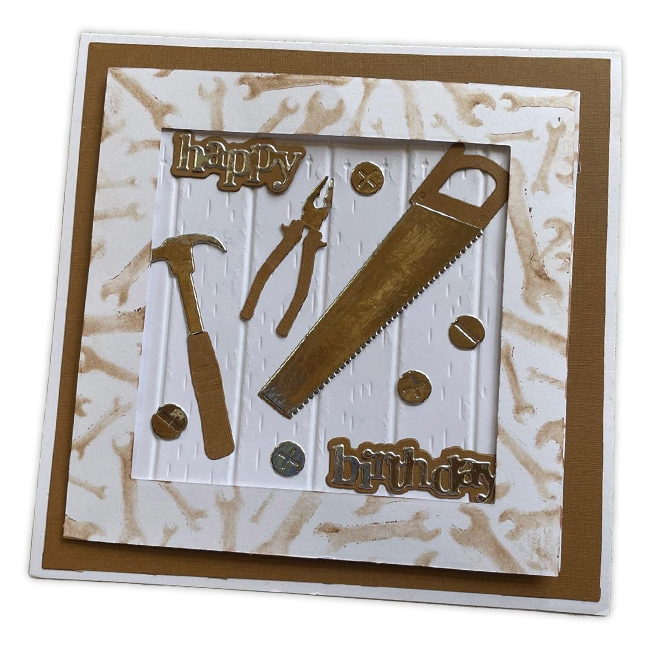
Card of the Week – DIY Essentials🛠️
This weeks card of the week all about DIY

Prepare the Base:
- Cut a 6″ square mat from tea-coloured cardstock and adhere it to a 7″ white card blank.
Create the Stencilled Background:
- Place your stencil onto white card.
- Use a sepia ink pad with a blending brush to apply ink, creating a spanners background.
- Trim this stencilled piece to 5.5″ square and ink the edges with the sepia pad.
- Mount it onto your tea-coloured mat.
Emboss & Layer:
- Emboss a piece of white card using the stripes embossing folder.
- Cut it with the square die from the DIY set.
- Attach this embossed square to your stencilled background with foam tape.
Sentiment Placement:
- Cut the outline sentiment die in tea and the sentiment in silver.
- Attach them to the top left and bottom right of the embossed panel as shown in the reference image.
Add the Tools:
- Die-cut the tools in both silver and tea cardstock.
- Arrange them on the embossed mat as shown in the reference image.
Alternative Design
Prepare the Base:
Cut a tea-coloured mat and adhere it to your card blank.
Emboss & Layer:
- Emboss a piece of white card using the stripes embossing folder.
- Cut and layer the tools as described in the main design.
Create a Framed Stencilled Background:
- Stencil the background as before.
- Create a frame using the Celtic Frame die set (JND488) or two square dies together.
- Lay this frame over the embossed panel using foam tape for dimension.