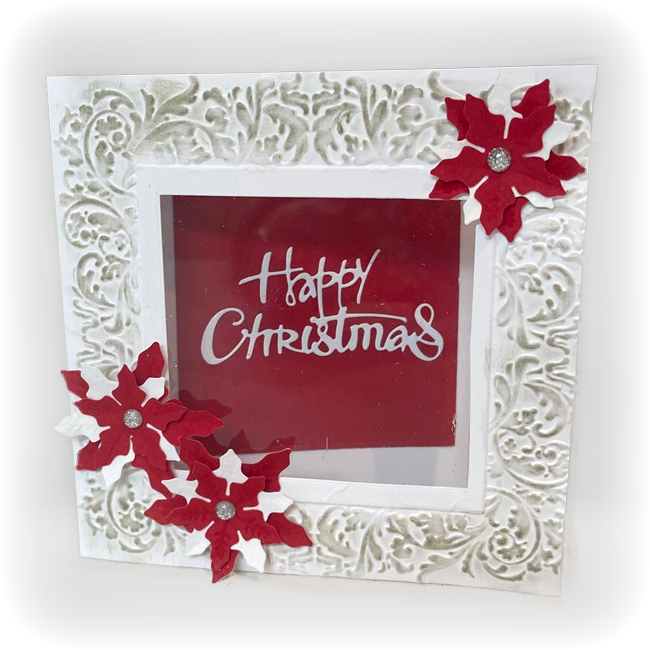
Card of the week 542
5th Dec 2024
40 mins
Medium
Create a stunning festive card featuring a gold-highlighted embossed design, a striking red aperture frame, and a beautiful layered poinsettia made from velvet sticker sheets. Finish with acetate detailing and sparkling gems for an elegant holiday touch!

Prepare the Embossing Folder:
Open the embossing folder and place a 9 cm square cutting die in the centre.
Emboss and Cut the Card Front:
- Position the front of your card blank over the die.
- Run it through your embossing machine to emboss and cut the design.
Cut a Red Square:
- Using the same 9 cm square die, cut a square from red card.
Attach the Acetate:
- Adhere a piece of acetate to the inside front of the card, covering the aperture.
- (Optional) Cut a frame to hide the tape for a neat finish.
Highlight the Embossed Design:
- Lightly drag a gold Izink pad over the embossed image to add colour and detail.
Prepare and Attach the Greeting:
- Cut your chosen greeting from white card.
- Adhere it to the centre of the red square.
Position the Red Square:
- Adhere the red square to the inside back of the card blank, aligning it with the aperture.
Create the Poinsettia Decoration:
- Die-cut the poinsettia shapes from red and white velvet sticker sheets.
- Assemble the poinsettia as shown in the picture.
- Peel the backing off the first layer and adhere it to the card.
Add Gems:
- Finish the card by attaching decorative gems for a sparkling touch.
